Expert Excel Help - Adding Shapes
Working on a spreadsheet in Microsoft Excel, there are time when you wish to highlight a certain value. This can be done manually by adding graphics to your sheet.
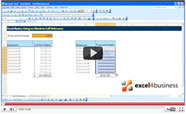
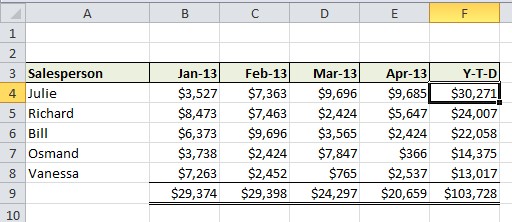
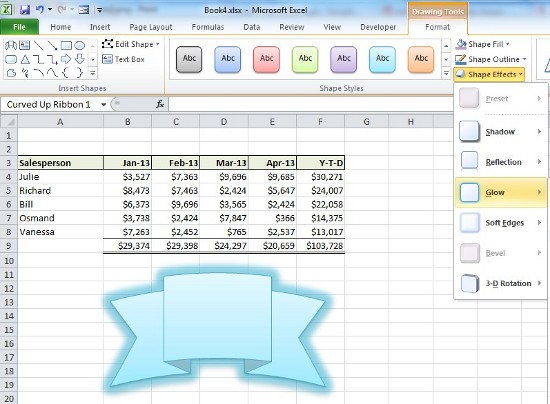
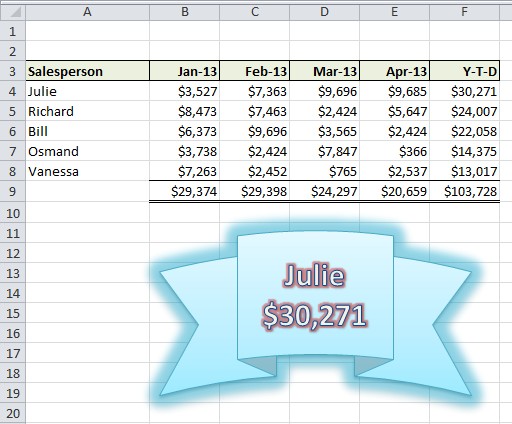
Below, you will see a summary of year-to-date sales totals made by five sales persons. We wish to congratulate the most succesful sales person by highlighting their name and the total slaes they have achieved.
To do this, let's first go to the Insert tab where you will find the Illustrations panel. Here, we click on Shapes to reveal a number of interesting icons and designs. Select your favourite shape.
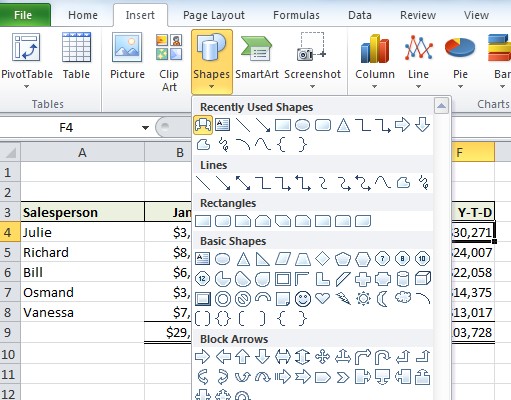
Once you have clicked on the shape, you will notice a special toolbar tab appears named Drawing Tools: Format. On this tab you will see a number of panels you can use to help you design and format your shape, using colour, shading, 3D and so on - we will return to this in a moment.
The next step is to use the cursor to draw the shape, adjusting the size and position as required.
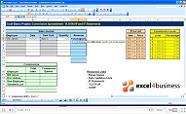
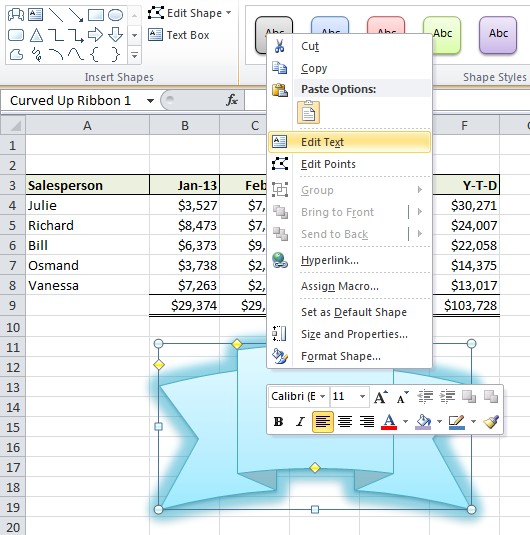
Once satisfied with our design, the easiest way to add the text and values we want is to right click on the shape and select Edit Text, as show here:
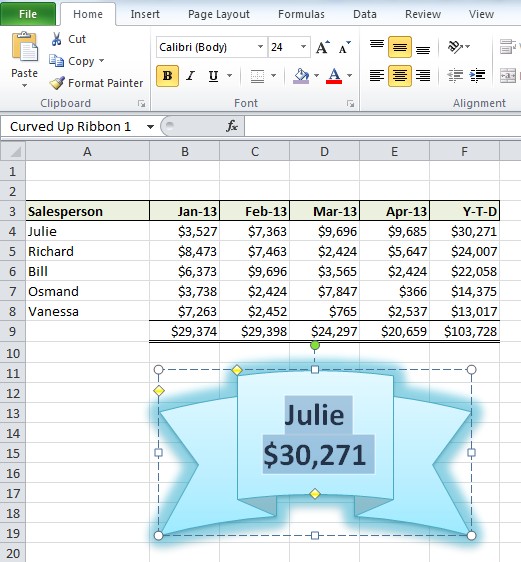
Writing and then selecting the text allows us to flip back to the Home tab to prepare the initial formatting, including size, centering, bolding and so on.
We can then flip back to the Drawing Tools: Format tab and add any additional enhancements we desire.
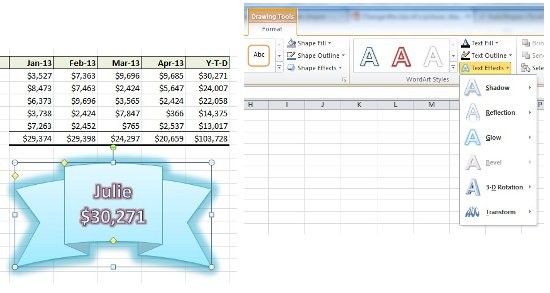
Next time you wish to add a bit of fun to your Excel sheets, why not try using shapes to highlight those important numbers?
For more help with getting the best out of Excel, contact our experts.