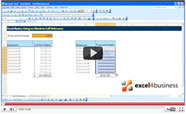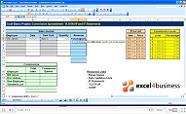
Excel Help - How to Group Rows and Columns in Excel 2013
In this video you’ll learn how to group and ungroup rows and columns in Excel. You can use this feature to organize your spreadsheet, especially if it has a lot of data.
Learning how to group rows and columns will help you gather similar information, display important data first, and save space.
The steps are identical for both rows and columns, so this video focuses on grouping rows.
Begin by selecting the set of rows that you would like to group together.
Next, click on the Data tab in the Ribbon.
Click on the Group button.
Click on Group.
Choose Rows and click OK.
You can now see an additional margin on the left-hand side where you can expand and collapse the groups.
To collapse a group, click on the minus sign.
To expand group, click on the plus sign.
Take a look at the numbers in the corner of the margin. If you click the “1”, you will hide all the groups, and if you click the “2”, you’ll display them again. If you create another group, a number 3 will appear.
To ungroup rows, select the group.
Click on Data.
Choose Ungroup.
Click Ungroup…
Choose Rows and click OK.