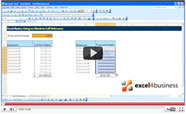
Excel Help - How to Set a Print Area in Excel 2013
In this video you’ll learn how to select and print only part of your Excel worksheet. Setting a print area is useful when you have a large table of data or any other type of content and only want to print part of it.
To begin with, select the table or the cell range you would like to print.
Go to the Page Layout tab. Click Print Area. Click Set print area. Click Save.
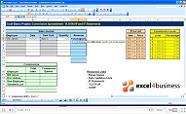
To check if you successfully set the print area,
Go to Print and select Print Preview.
You can also see the cell addresses selected and change them from the Page Setup menu.
Click the small arrow in the bottom right of the Page Setup section.
Select ‘Sheet’ and you’ll see the Print Area expressed as a range (A1:C3).
You can use this selection tool which will allow you to re-select a new print area.
Just type in the names of the cells in the range.