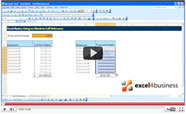
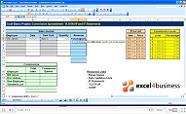
Excel Help - How to Lock Cells in Excel 2013
This video will show you how to stop other users from editing individual cells in Excel. If you’re sharing your worksheet with other people and don’t want them to change the contents of an individual cell, such as the titles, formatting, formulas or any other part of your work, you can prevent editing by locking individual cells rather than the entire worksheet.
The first step is to select all cells by clicking on the triangle in the upper left-hand corner of the worksheet. Now right-click and click Format Cells. Go to Protection.
Uncheck the Locked box and click OK.
This step is necessary because all cells are locked in any new Excel worksheet, but the locking only takes effect when you unlock all cells first, lock the ones you choose, and protect the worksheet.
Right-click the cell or cell range that you want to lock, then click Format Cells. Check the Locked check box and click OK.
Now you need to protect the worksheet. To do this, find the Review tab in the toolbar. Click Protect Sheet.
If you want, you can enter a password in the popup window to protect the sheet, but you don’t have to.
Click on the OK button.
Other users will no longer be able to edit the cells you locked, but they will be able to change the contents of the rest of the cells in your worksheet.


