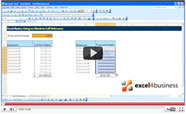
Excel Help - How to Move Columns in Excel 2013
In this video you’ll learn how to drag, move and swap columns in Excel. You’ll find this useful if you have several columns and would like to switch their locations according to relevance.
To begin with, click on a column heading to select it.
Right-click and select Cut.
Right-click the cell before which you would like the cut cell to appear and select Insert Cut Cells.
The new column will appear to the right of the one you selected.
Alternatively, you can select the cell you want to cut.
To do this, go to the Home tab, Select Clipboard, click on Cut to and click Paste.
If you have an Excel table, you can move columns more easily by dragging and dropping the columns within the table.
Simply select the column you want to move, move the mouse pointer to the border of the selected column until it turns into a four-sided arrow,
and drag the column to a new location.